
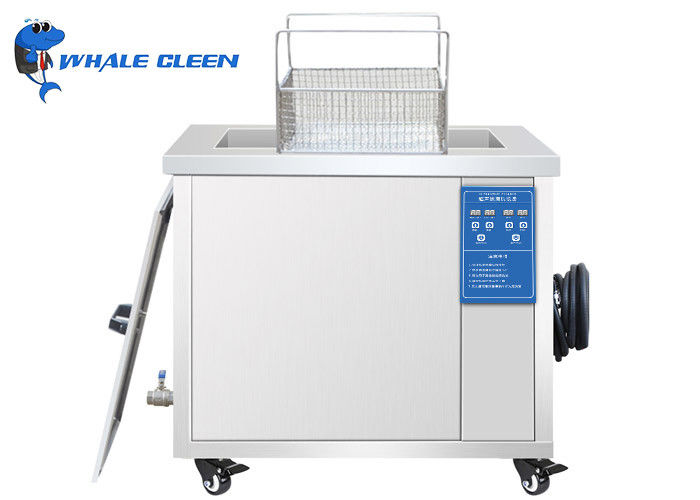
220V-240V Single Phase Cleaner With Digital Timer 38L For 3D Printing
-
Highlight
240V Ultrasonic Cleaner With Digital Timer
,38L Ultrasonic Cleaner With Digital Timer
,Single Phase 3D Printing Ultrasonic Cleaner
-
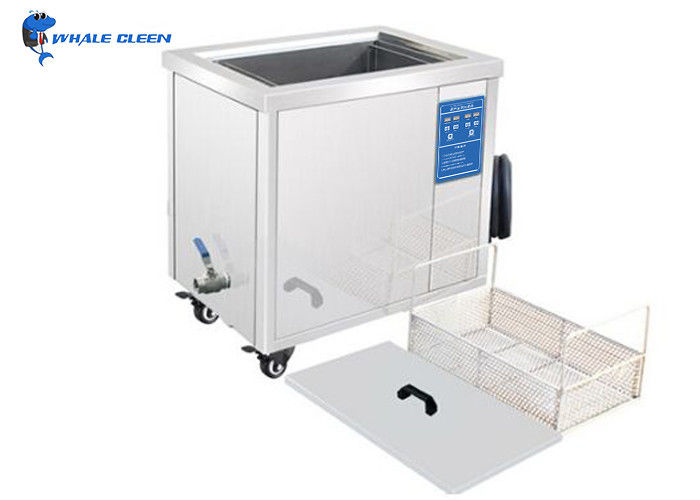
Tank Size500*300*250mm
-
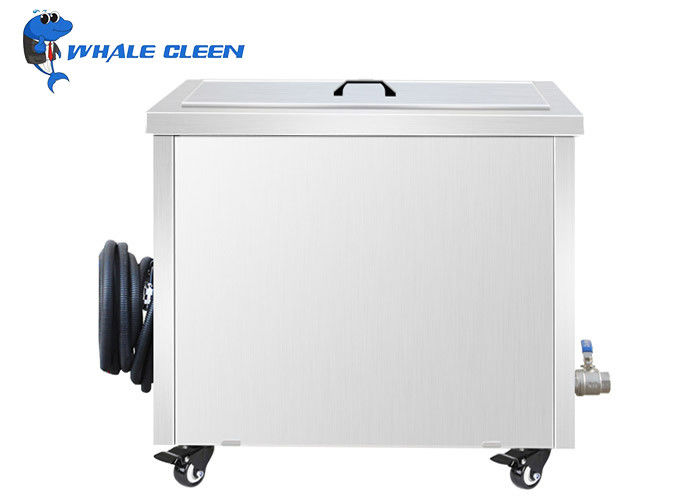
Unit Size640*440*470mm
-
Voltage220V~240V,Single Phase
-
Frequency28KHz
-
Power Range0~600W
-
Capacity38L
-
Product NameUltrasonic Cleaning Machine
-
Tank MaterialSUS304
-
Place of OriginChina
-
Brand NameWhale cleen
-
CertificationCE, Roth
-
Model NumberZ-12
-
Minimum Order Quantity1
-
PriceNegotiable
-
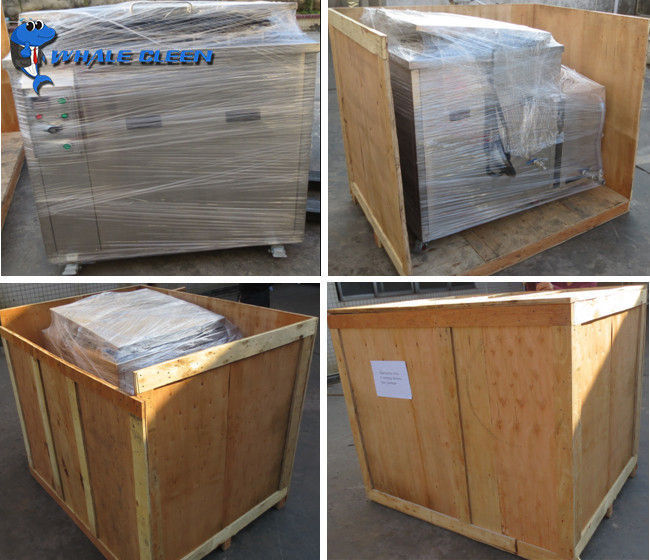
Packaging DetailsWooden Case Packing
-
Delivery TimeDepend On Your Quantity
-
Payment TermsT/T
-
Supply Ability5000 Units Per Month
220V-240V Single Phase Cleaner With Digital Timer 38L For 3D Printing
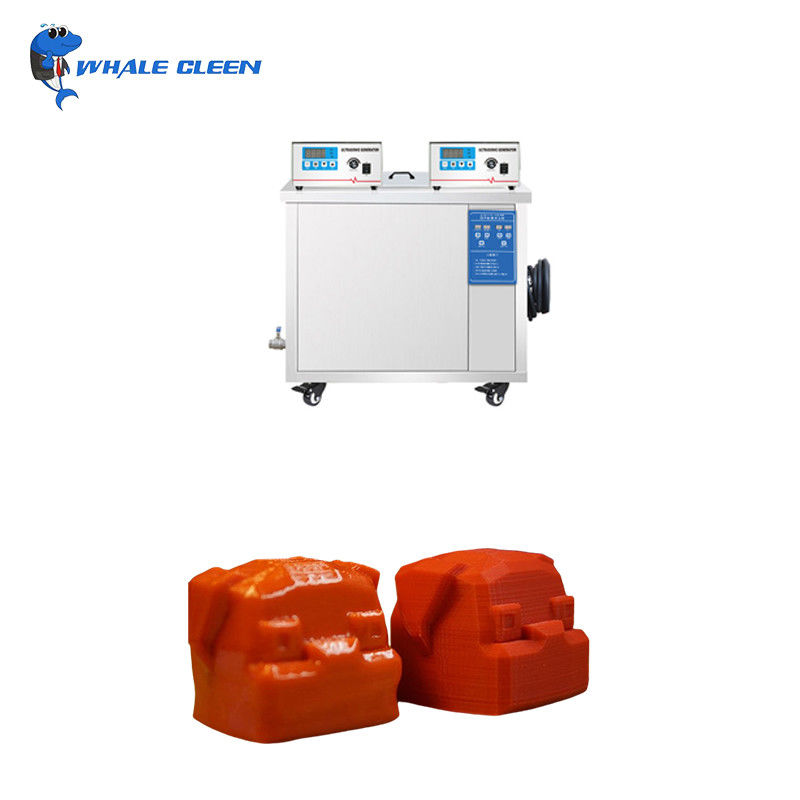
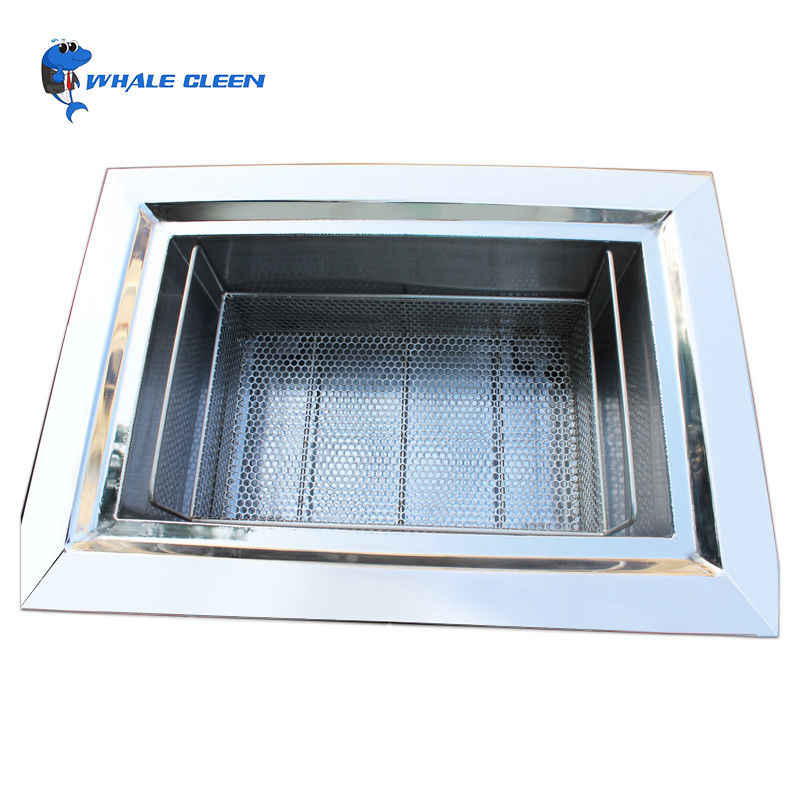
38L 600Watt Ultrasonic Cleaner With Digital Timer For 3D Printing Factory
Why You Need Whale Cleen sonic Ultrasonic Cleaner With Digital Timer?
Whale Cleen sonic digital series ultrasonic cleaner offers the ideal way to remove support material from fused deposition modeling 3D-printed parts. The application of ultrasonic energy accelerates the removal of support material, significantly reducing post-processing time, and expediting the prototyping process. Further, the Whale Cleen sonic ultrasonic bath uses the same solution used in other support removal baths.Whale cleen sonic digital series ultrasonic cleaner offers the ideal way to remove support material from fused deposition modeling 3D-printed parts.
With its fully programmable interface, the Whale Cleensonic digital series digital bath is the most advanced ultrasonic bath yet. It features the benefits of heated cleaning with the ability to set temperatures from 20 to 95 ° C Plus, users get complete digital control and self-adaptive technology for consistent, worry-free operation—every time.
Specification:
|
Specifications for ultrasonic cleaner Z-12 |
|
|
Model |
z-12 |
|
Tank capacity |
38L |
|
Tank size |
500*300*250mm |
|
Unit size |
640*440*470mm |
|
Tank material |
2mm SUS304 |
|
Ultrasonic power |
600W |
|
Heating power |
1.5KW |
|
Timer |
1-99h adjustable |
|
Heater |
0-80c adjustable |
|
Frequency |
28/40khz |
|
Control |
Inside generator, more stable |
|
Optional |
Oil filter system, pneumatic lift, rinsing tank, etc. |
|
Voltage |
110V, 1phase; 220V, 3phases/220V, 1phase; 380V, 3phases |
|
Warranty |
1 year |
|
Packing |
1unit/wooden case |
If this model is not suitable for your cleaning,please contact us for more detail.
Cleaning Effect:
![]()
How To Clean With Ultrasonic Cleaner With Digital Timer
Items needed before cleaning:
-
Nitrile/Neoprene gloves
-
Jewelry ultrasonic cleaner
-
Peopoly UV curing light
-
Solar powered turntable
-
Isopropyl alcohol
-
Print removal tool
-
Flush cutters
-
Paper towels
-
Plastic sheet
-
Step 1: Removing your print
Once your 3D print is finished, you’ll need to remove it from the build plate. Unlike FFF 3D printing, you have to be very gently removing every print. Whereas you can use a spatula and a good tap to remove PLA prints, you can’t do the same with your SLA prints. My recommended method is as follows:
-
Lay out some paper towels or plastic sheet to catch any drips as you’re removing your part.
-
Put on some nitrile or neoprene gloves to protect your hands
-
Remove the build plate from the printer, being careful not to bump your print and break off any details.
-
Use the supplied spatula to lift up either the brim or an edge of the print if there isn’t a brim.
-
Use the print removal tool to glide under the 3D print, using the lifted edge as your opening to get underneath it.
-
It should be really easy to slide this under your print. If it’s taking more force than expected, be careful not to slip and cut yourself or damage the print.
-
Step 2: Cleaning off supports
Some people like removing their supports after everything has cured, but I find it’s more destructive if you wait until then. In my experience, cured supports shatter and have taken off small divots of material where they attached to the print.
-
Use the flush cutters to snip off the support material
-
Make sure to be flush with the surface of the print, or as close as you can get.
-
In some cases, the supports won’t take much effort at all to come off, but with some of the finer details with supports attached, you’ll want to be careful that the force of the snips closing doesn’t take the detail with it.
-
Step 3: Cleaning the 3D print
No matter how long your print is, there will be some amount of resin on the surface. If you let this harden, it will slightly distort the true shape of the model. In some cases it will harden as drips rather than a full coating and in others it will leave them sticky for a long time, allowing them to attract and stick to any dust and debris.
-
Get an ultrasonic cleaner from the retailer of your choice.
-
The biggest thing is making sure that its volume is big enough to fit the parts you will be printing.
-
-
Cover your work surface with plastic sheeting or paper towels to collect any drips or spills
-
Isopropyl alcohol will strip paints, stains, or varnishes, so be careful when handling on these surfaces.
-
-
Fill it halfway with isopropyl alcohol
-
Gently drop your 3D print into the alcohol.
-
Make sure that there is either enough alcohol to completely cover your part, or intend to do a couple passes to cover all sides.
-
-
Turn on the cleaner.
-
I don’t usually heat the alcohol and have had great results without it.
-
Normally I turn it on for 3 minutes and that’s enough to feel a significant difference between before and after putting the part in. It doesn’t need to soak for hours, but it couldn’t hurt letting it soak and clean for 10 minutes or so.
-
-
Use the basket usually included with the cleaner to lift the part out of the alcohol.
-
Gently dab the 3D print with paper towels to soak up as much of the isopropyl alcohol as you can.
Step 4: Post-processing the 3D print
Even though cleaning off any uncured resin is a great start, the step that really brings out the quality of your 3D print is the post-curing that’s necessary for SLA prints. A high wavelength UV light has the intensity to cure the entire part, it just takes longer for thicker, more solid parts. Peopoly makes their own UV lamp, but there’s a couple things you can do to make it work even better.
-
Get a solar powered turntable
-
You don’t need to be too particular about the size of it, but a battery powered one couldn’t hurt either. All you’re aiming to do is have the 3D print stand on it and rotate.
-
-
Find a container to fit the turntable and any 3D prints you may need to cure.
-
Most turntables, even the smallest you can find, are going to have bases bigger than the 3D prints you would be make using your SLA printer. That will usually be your point of measurement.
-
The container itself doesn’t really matter, you just need something to bounce the light around. This can be as simple as a paint can, a cardboard box, or like in our case an unused cabinet
-
-
If your container is not reflective, line the inside using aluminum tape.
-
This will help bounce the light around in an attempt to get all sides of the 3D print completely cured.
-
-
Mount the UV curing light to the container
-
There are mounting holes in the bracket of the curing light, so you can use screws and make it permanent or use some adhesive to mount it. In either case, you want it mounted in a position where it can aim directly at the turntable.
-
-
Place your part on the turntable and walk away.
-
For small 3D prints, half an hour is enough time, for others overnight should do the trick. Basically leave it as long as you can afford to.
-
Our products are sold all over the world, you can rest assured.